
Your cart is currently empty!
NA Miata Rear Bumper Removal
This guide will walk you through the step-by-step process of NA Miata rear bumper removal. There are not many reasons that you would need to remove your rear bumper, but if you are planning to get the car repainted like we were, it’s best to have it off the vehicle.
Tools Required:
- Philips screwdriver
- Socket wrench and 10, 14 mm sockets
- Various socket extensions
Instructions:
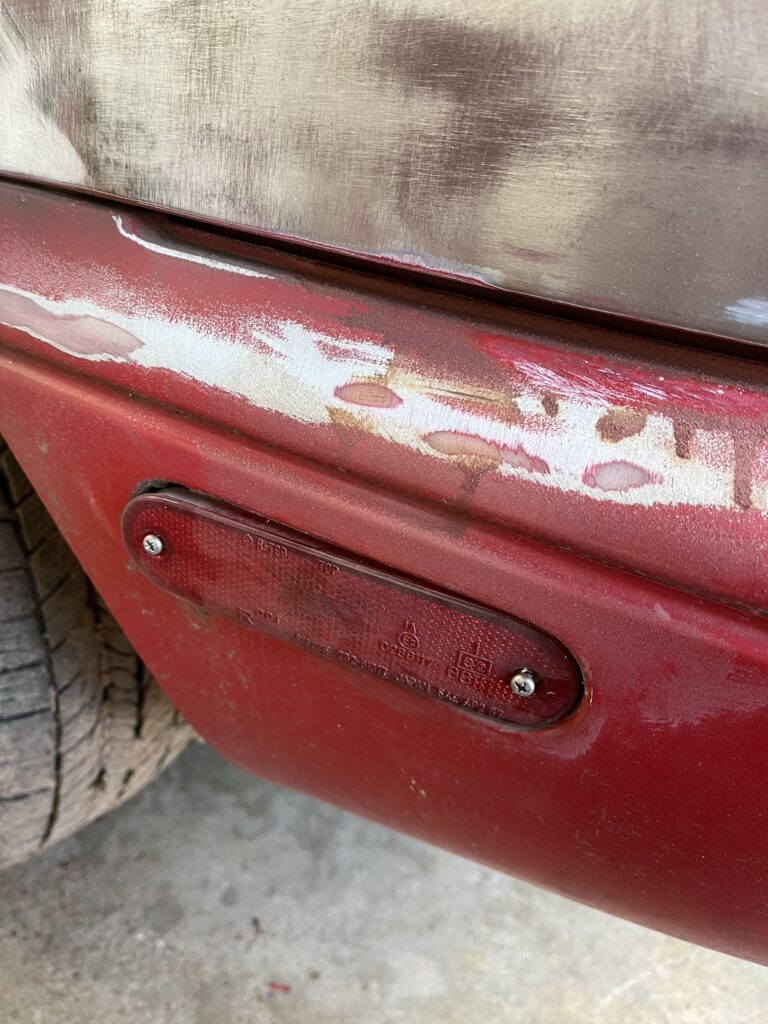
- Start by removing both of the rear turn signal / marker lights. There is one on each side of the bumper. Each light is secured in place with 2 Philips head screws. Loosen these screws – you don’t have to take them all of the way out – and then pop out the marker light and disconnect the electrical connector.
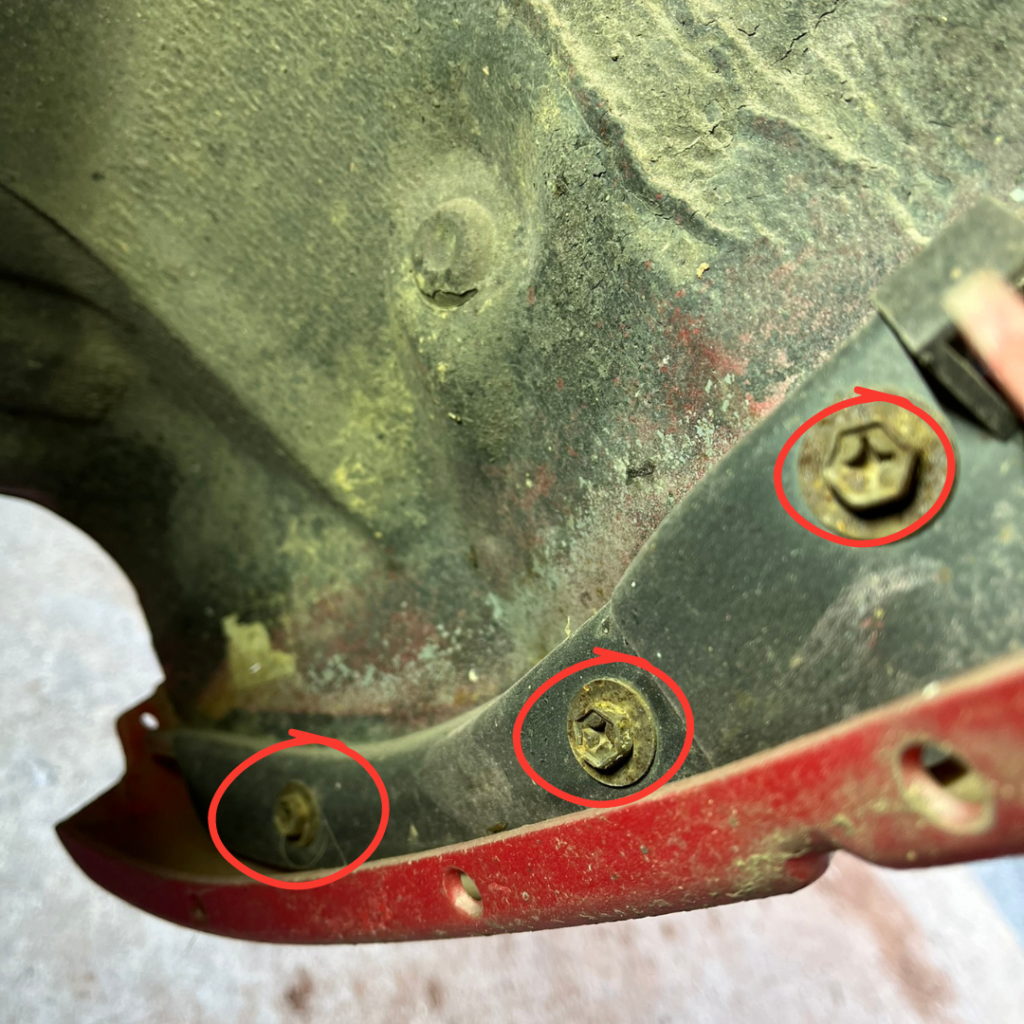
2. In both of the rear wheel wells, looking towards the rear of the car, there are x3 10mm fasteners. Remove these, and then the rear splash guard from both sides of the car.
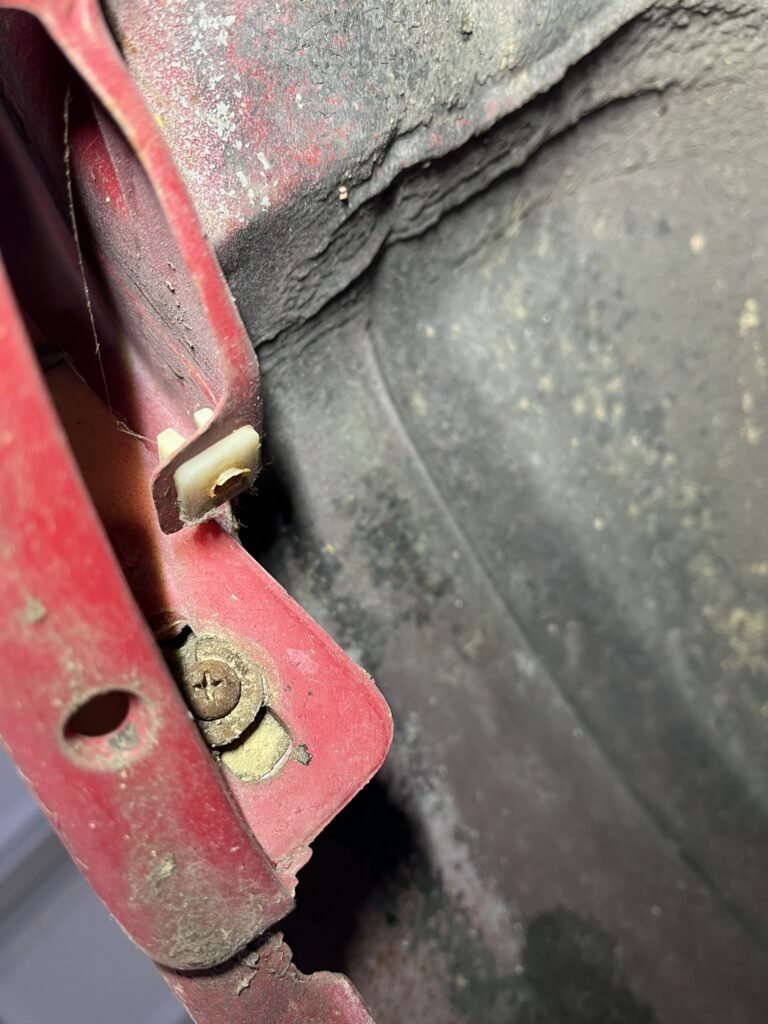
3. Also in both of the rear wheel wells, looking directly up from the ground, there are 2 Philips head screws. Remove these screws from each side of the car (4 screws total.)
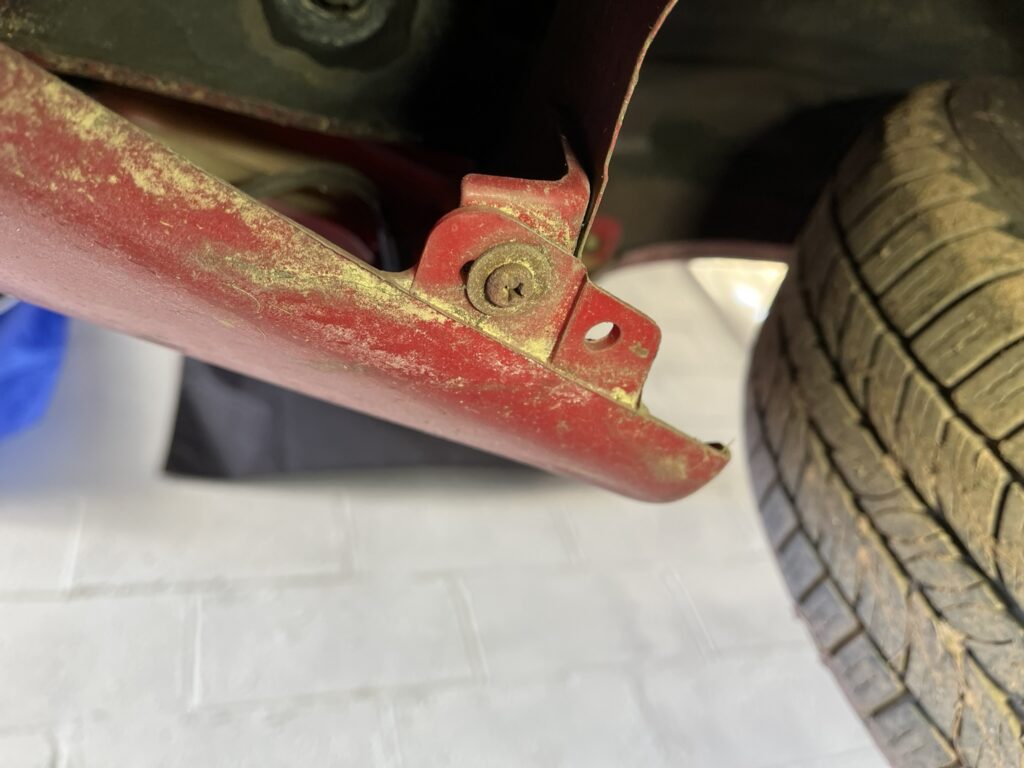
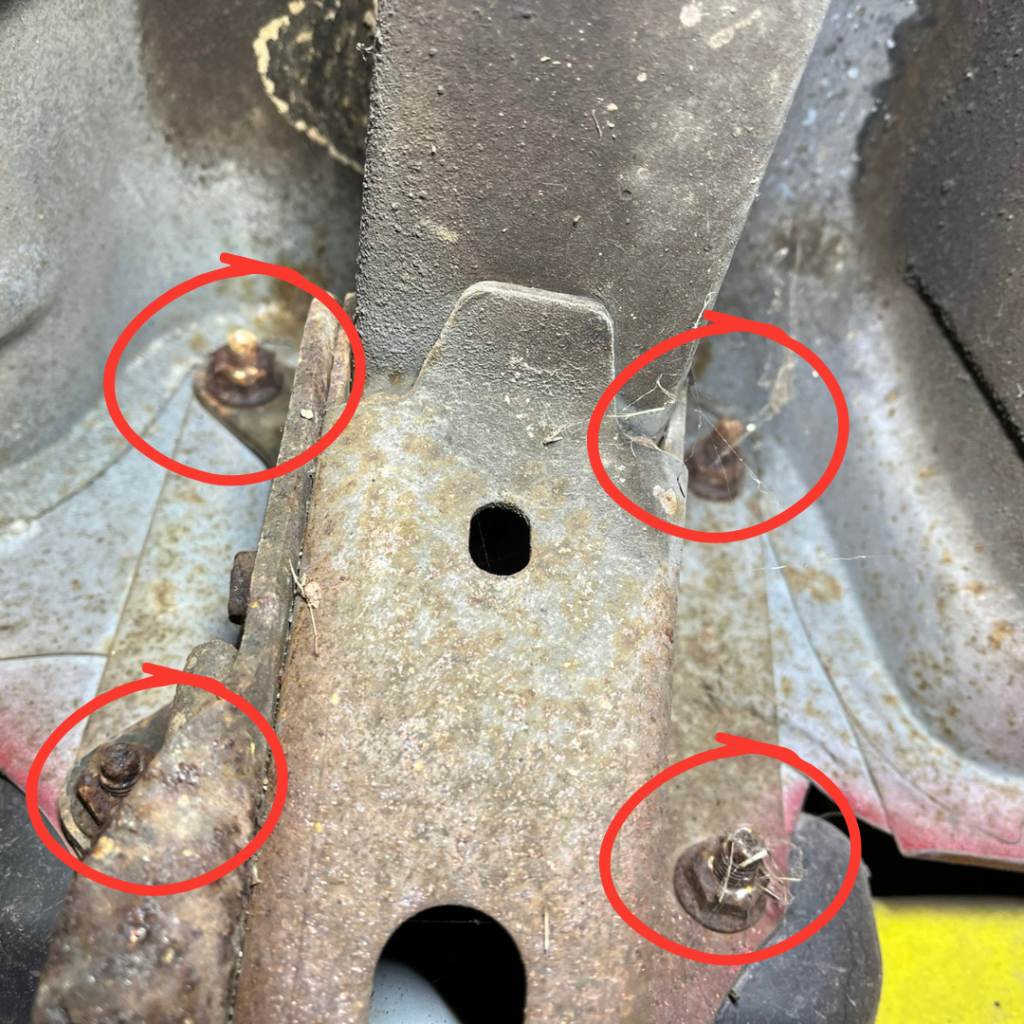
4. Crawl underneath the back of the car and look up. Each side of the bumper has 4 studs with a 14mm nut of them (8 nuts total.) All 8 of these nuts need to be removed.
Shown here is the driver side, which is the “easier” one. The passenger side is a bit more difficult to show a picture of since the exhaust system is in the way. Also note that it is common for these nuts to be rusty, so take your time and make sure that your socket is on square before attempting to loosen them.
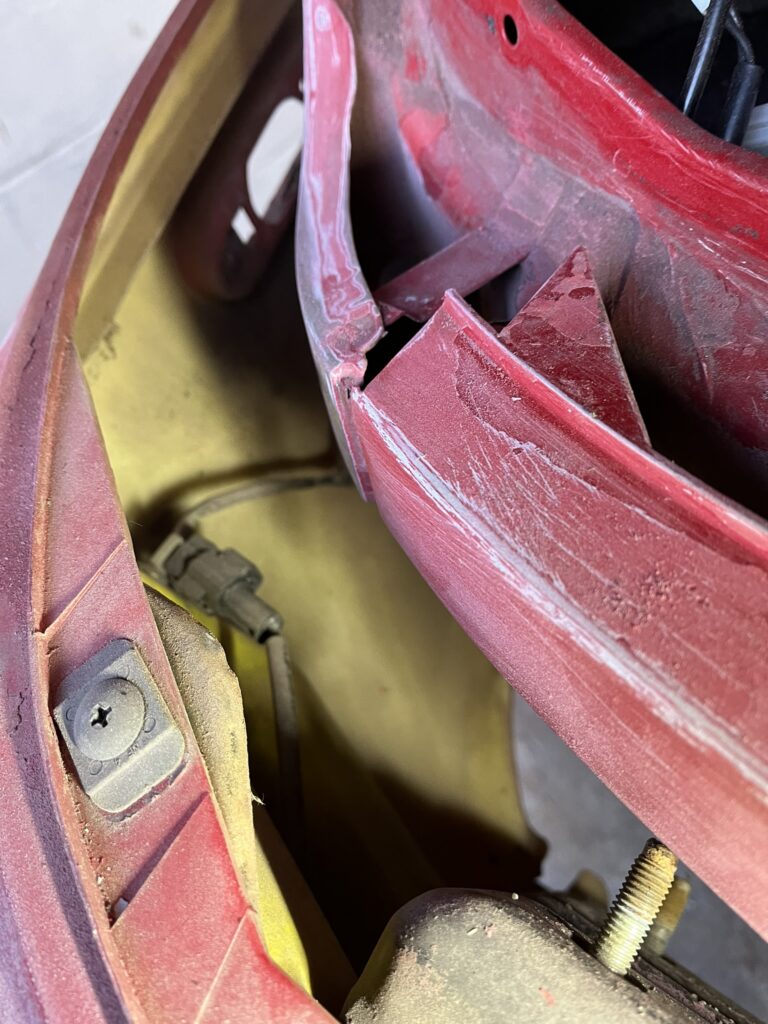
5. Firmly pull the bumper straight back and set it down gently. As you are setting it down, note this electrical connector on the left (drivers) side that will need to be disconnected.
We hope that this guide has been helpful in walking you through the process of NA Miata rear bumper removal. For more tips and tricks to keep you Miata running smoothly follow us on social media.