
Your cart is currently empty!
NA Miata Outer Tie Rod End Replacement DIY
This guide will walk you through the process of NA Miata outer tie rod replacement. The same steps should also be applicable to NB Miatas. Tie rods are a critical component of your car’s steering system, and replacing them is essential to maintain the precise steering control that Miata’s are known for. Fortunately, replacing the outer tie rods on the NA / NB Miatas is an easy DIY job that requires minimal tools.
Tools Required:
- 17, 21 mm sockets and 1/2″ breaker bar with extensions
- 17 mm wrench
- Needle-nose pliers
Optional Nice-to-Have Tools for this Job:
Parts Required:
- Tie rod end (highly recommended that you purchase two and replace both sides)
Instructions:
- Raise the front of the car safely in the air by jacking the car up and securing it on jack stands. Make sure the back wheels are chocked, and give the car a firm shake to ensure it is safe to proceed.
- Remove the wheel.
- Locate the outer tie rod. Whether you are working on the driver or passenger side of the car, it is located towards the front of the vehicle.
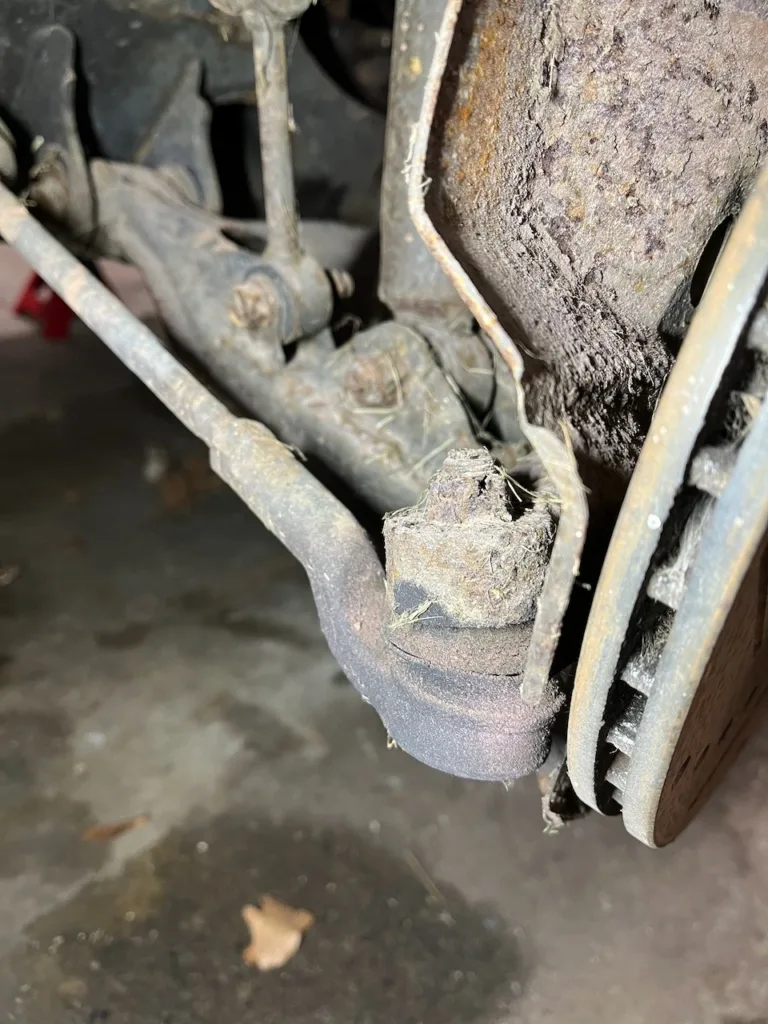
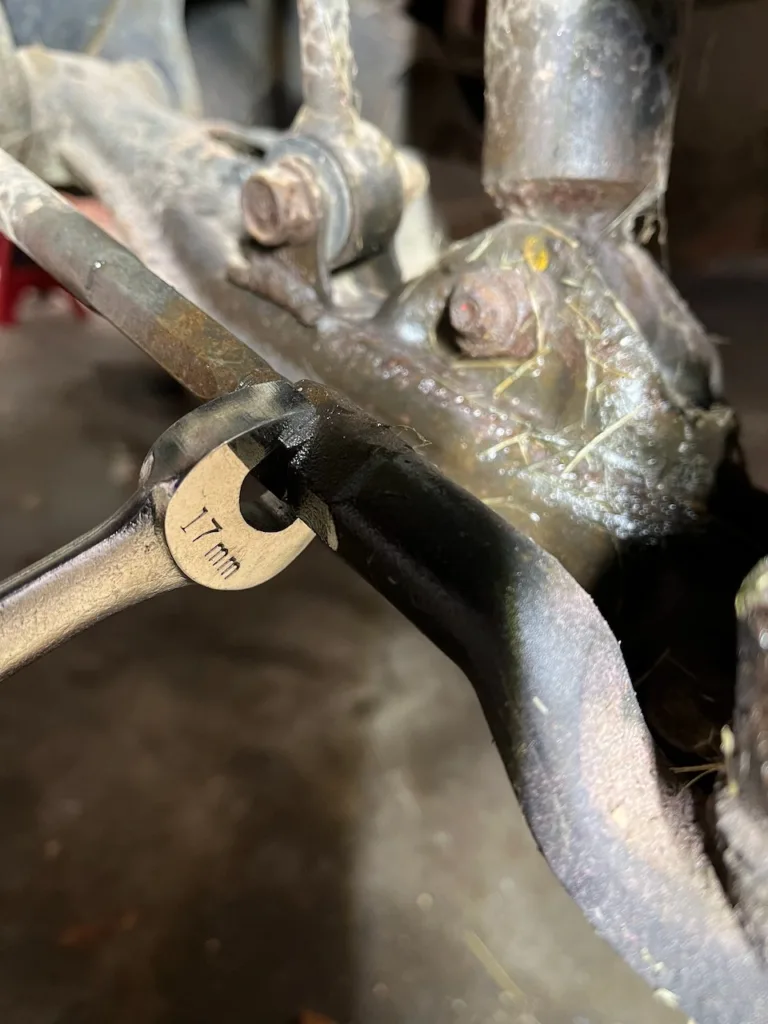
4. Break loose the lock nut by turning it clockwise (right) with a 17 mm wrench. Again, note that you are turning clockwise – in this case, it’s righty-loosy!
5. Remove the cotter pin using needle-nose pliers. This is easier said than done, especially on older vehicles where they are often rusted in place.
- If your cotter pin is stuck in place like on our car here, you are better off snipping the ends of it off using some tin snips. If you are able to fit a 17 mm socket on to the castle nut, you are okay to proceed to the next step.
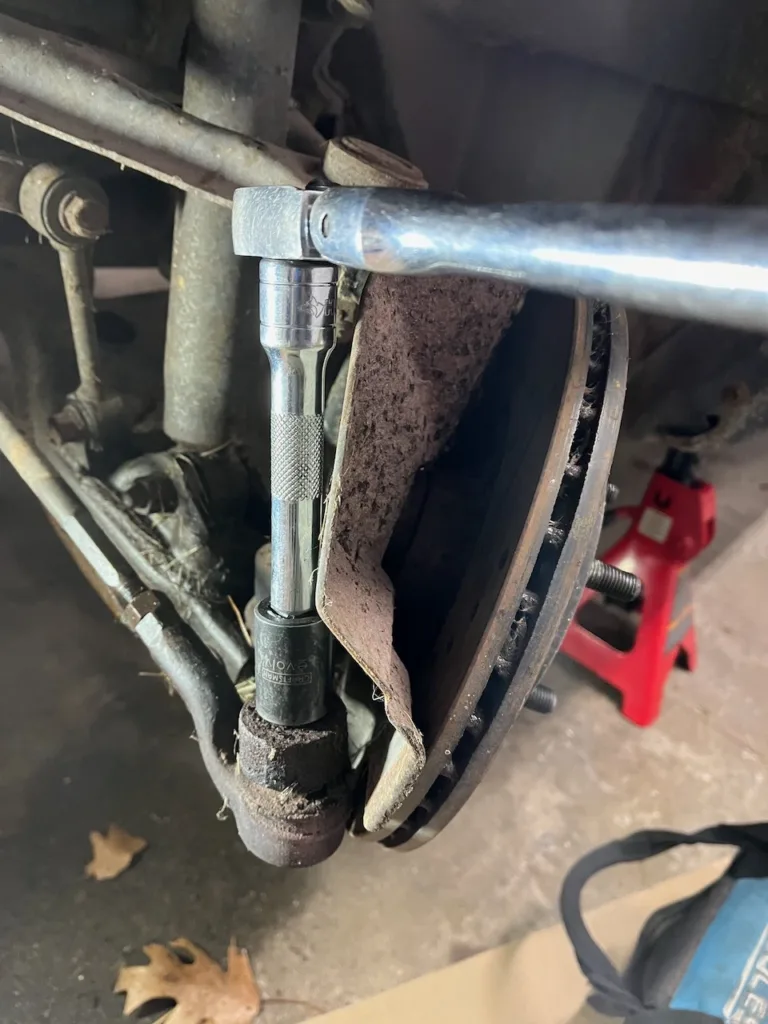
6. Remove the 17mm castle nut.
7. Separate the tie rod from the steering knuckle. There are a few ways to do this.
- You can try hitting the knuckle itself with a hammer.
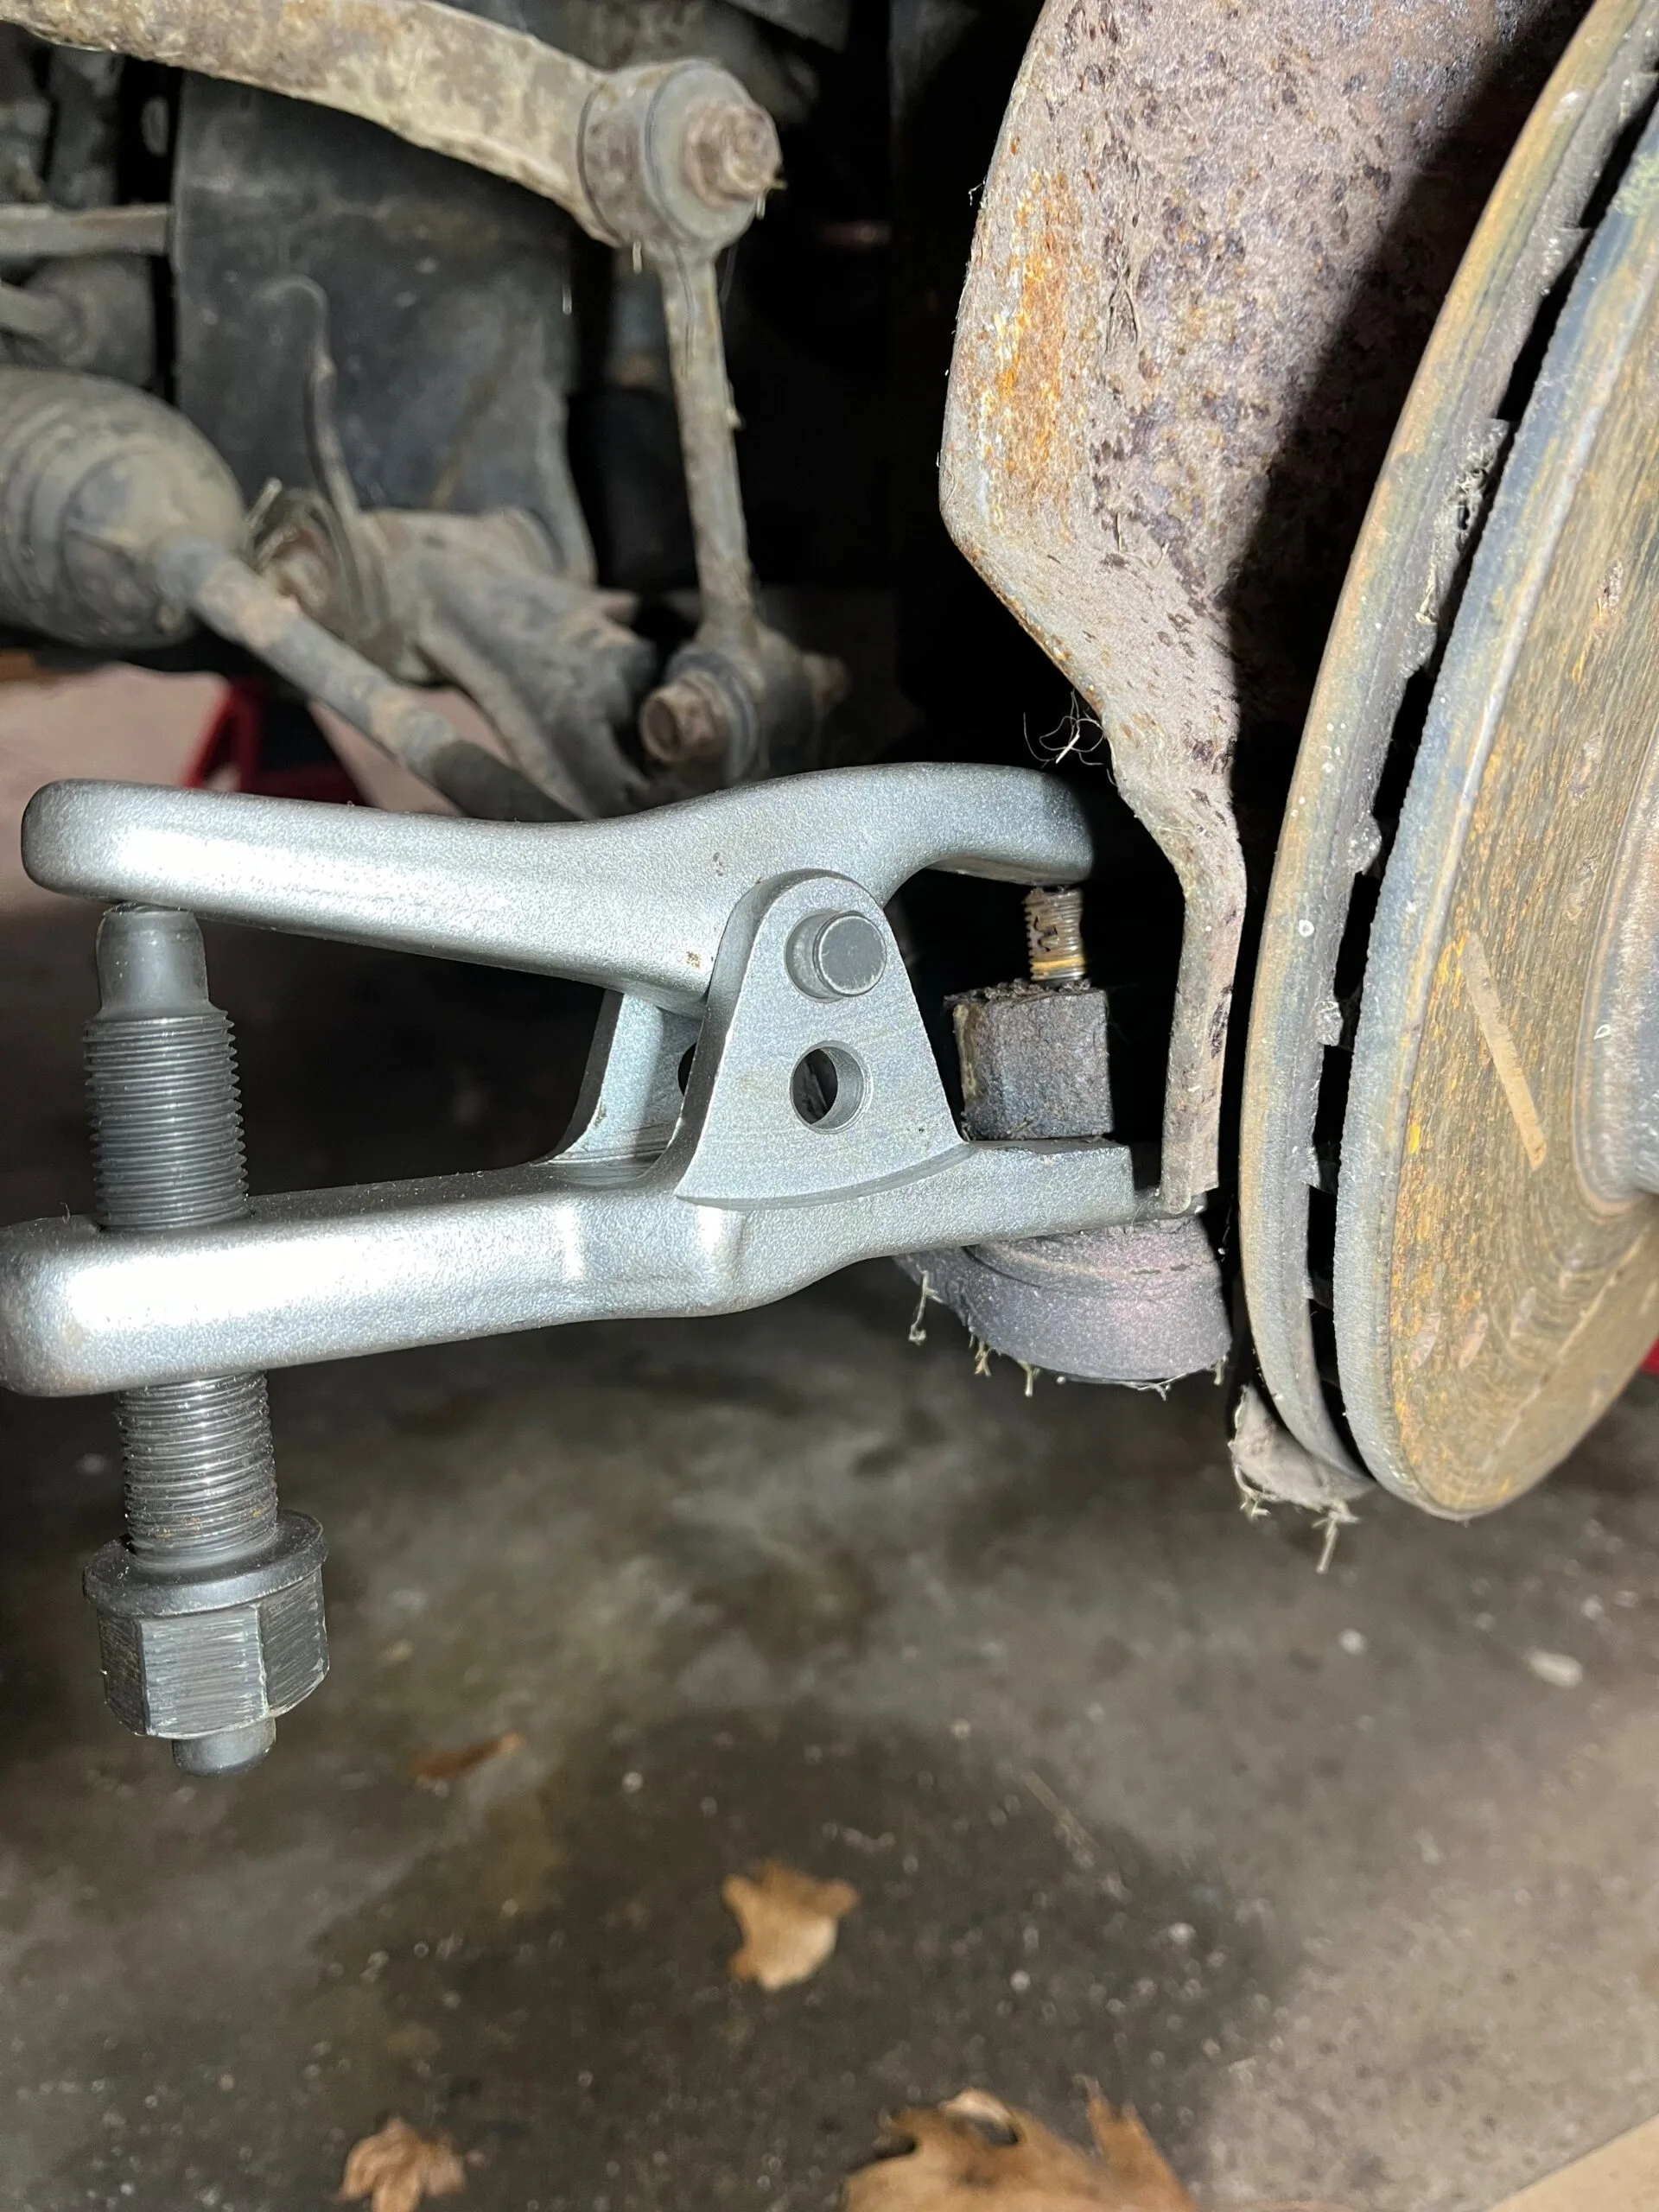
- You could also use a “pickle fork” style ball joint separator.
- Personally, we find that a ball joint separator like this is the fastest and easiest method. There is plenty of clearance to use it here, and once you have it positioned to press down on the tie rod like shown in the picture, it will free up the tie rod in a few seconds.
8. Unscrewing the outer tie rod by turning it counter-clockwise. Be sure to count the number of turns as you are unscrewing it – this will help keep your alignment accurate when installing the new tie rod.
9. Screw on the new tie rod by turning it clock-wise the same number of turns that you counted when removing the old one.
10. Push the tie rod in to the steering knuckle and install a new castle nut and cotter pin. If you have a torque wrench available to you, the new castle nut can be torqued to 32 ft-lbs.
11. Re-install the wheel and repeat these steps for the other side of the car. After you are finished with both sides, lower the car back on to the ground and test drive. Make an appointment with an alignment shop to ensure proper alignment and make sure your tires do not wear unevenly.
We hope this guide has been helpful in walking you through the process of NA Miata outer tie rod end replacement! For more tips and tricks to keep you Miata running smoothly follow us on social media.