
Your cart is currently empty!
NA Miata Cam Angle Sensor (CAS) O-Ring Replacement
The NA Miata is a bit old-school in the way that it handles ignition timing. It uses a a camshaft angle sensor (CAS) located at the back of the valve cover. Some people also refer to it as the “crank angle sensor” or “cam position sensor”. This sensor is sealed to the engine with an O-ring, and is an extremely common source of oil leaks.
This oil leak can cause funny burning oil smells if the oil drips onto the hot exhaust manifold. If that wasn’t annoying enough, it can also cause a big coolant leak, since the CAS is located directly above one of the heater hoses going into the cabin. Therefore it is important to address this oil leak as soon as possible. Fortunately it is a very inexpensive and easy job, and one that you may want to do as preventative maintenance.
Note: On 1.6 engines (1990-1993) it is located on the passenger’s side of the engine block. On 1.8 engines (1994-1997) it is located on the driver’s side. Replacement procedure is extremely similar on both engines.
Tools Required for this Job:
- 12 mm socket / wrench
Parts Required for this Job:
Instructions:
- Locate your CAS at the back of the valve cover. On 1.6 engines it will be on the passenger’s side, on 1.8 engines it will be on the driver’s side.
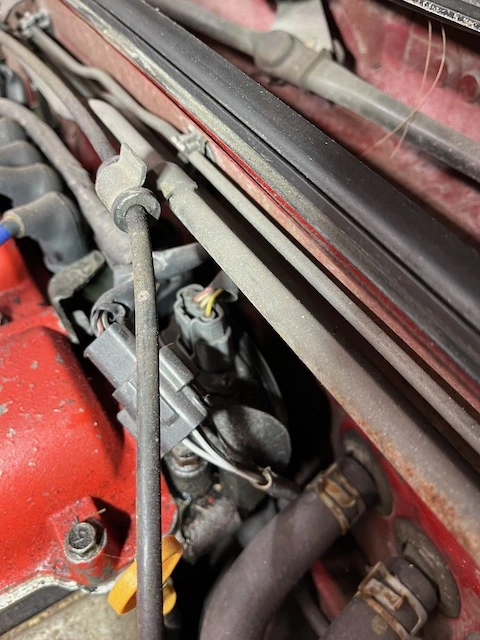
2. Unplug the electrical connector on top of the CAS, as well as the other electrical connector for the oxygen sensor to free up some room.
3. Use a pencil or other marker to scribe a line across the CAS, to where it mounts to the engine. This ensures that your ignition timing will be accurate when you go to re-install the sensor later, and means you won’t have to mess around with a timing light.
4. Remove the 12 mm mounting bolt. This is the only bolt that attaches the sensor.
5. Remove the CAS. There isn’t a lot of room, and it may take some gentle wiggling back and forth.
6. Remove the old O-ring from the CAS.
7. Clean the surface where the O-ring sits, then install the new O-ring onto the CAS.
8. Re-install the CAS into the car. Note that there are 2 grooves on the CAS that notch into the back of the camshaft. These grooves are clearly shaped differently, so it’s pretty difficult to install it incorrectly. If the CAS isn’t sliding in with gentle pressure, check and make sure that the grooves on the sensor are lined up. Space is at a premium here so this will need to be done by feel.
9. Start threading in the 12 mm mounting bolt. Once it is hand-tight, make sure that the scribe mark you made earlier lines up between the sensor and the valve cover. Then snug up the bolt.
10. Plug the electrical connectors that you disconnected earlier back in.
11. Start the car and check for leaks. If the engine is running different than it was before starting the job, double-check your scribe mark and ensure you are lined up and that the ignition timing hasn’t been changed.