
Your cart is currently empty!
NA Miata Build Part 3 – We’ve Got Primer
In the previous post of our NA Miata build series we featured lots of sanding – removing all of the surface rust, as well as doing some basic maintenance.
This post has taken a while to get around to because it’s been a lot more of the same lately. There are only so many pictures you can take of sanded metal. But discernible progress is being made, and it’s time that I shared that progress with some updated pictures.
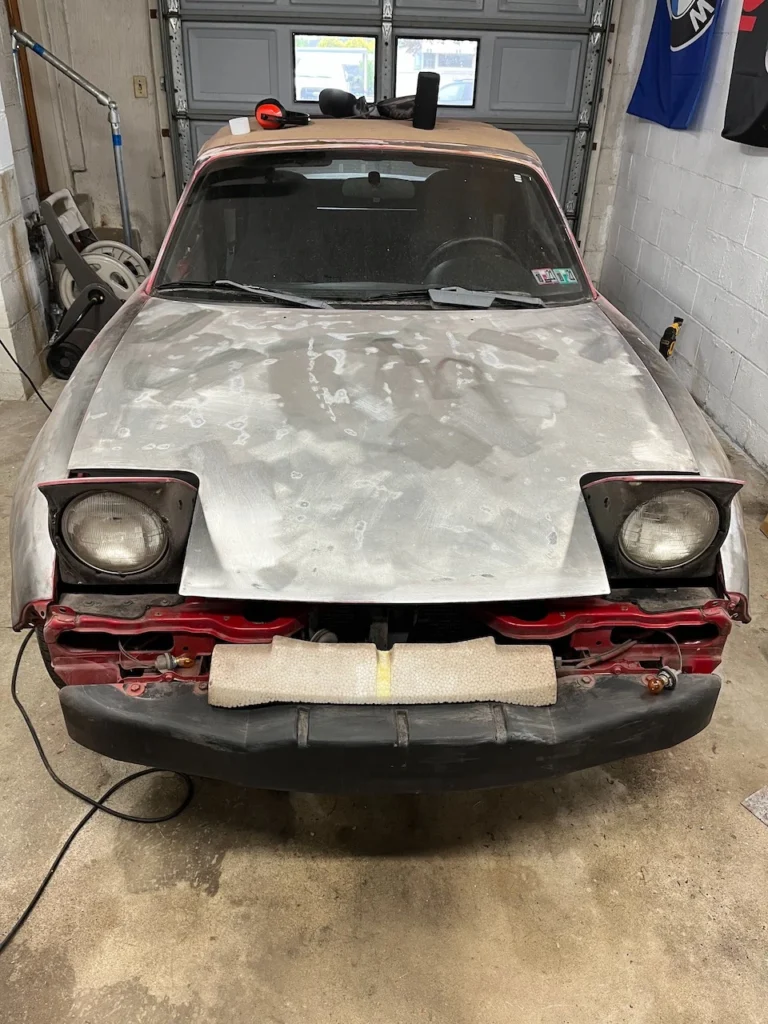
As you can, the bumpers have finally been taken off. Removing the rear bumper was an easy job and only took a few minutes. Conversely, removing the front bumper was a more involved process, and led to some rusty carnage. If you have to pull off your own front bumper anytime soon, and you live in an area where Miatas rust (which is to say, on planet Earth), I would highly recommend having some spare hardware kit on hand. You are almost assuredly going to need some of it.
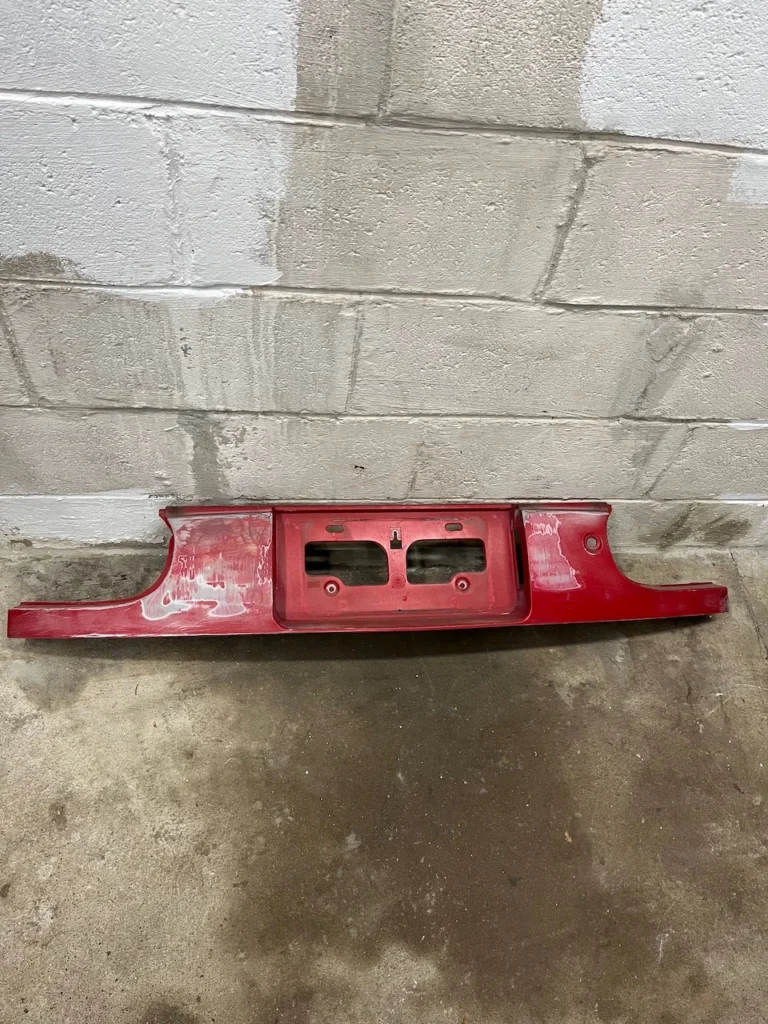
Another recent win – the finish panel has been removed! I was putting off this job for a while, but I’m happy to report it was successful. These finish panels are notorious for cracking if you even look at them the wrong way.
I treated the removal process similar to open heart surgery, and aside from one broken plastic clip, there were no casualties. Of course, the panel still needs to be sanded, primed, painted, and reinstalled back on to the car. There are plenty of remaining opportunities for me to mess up and crack it.
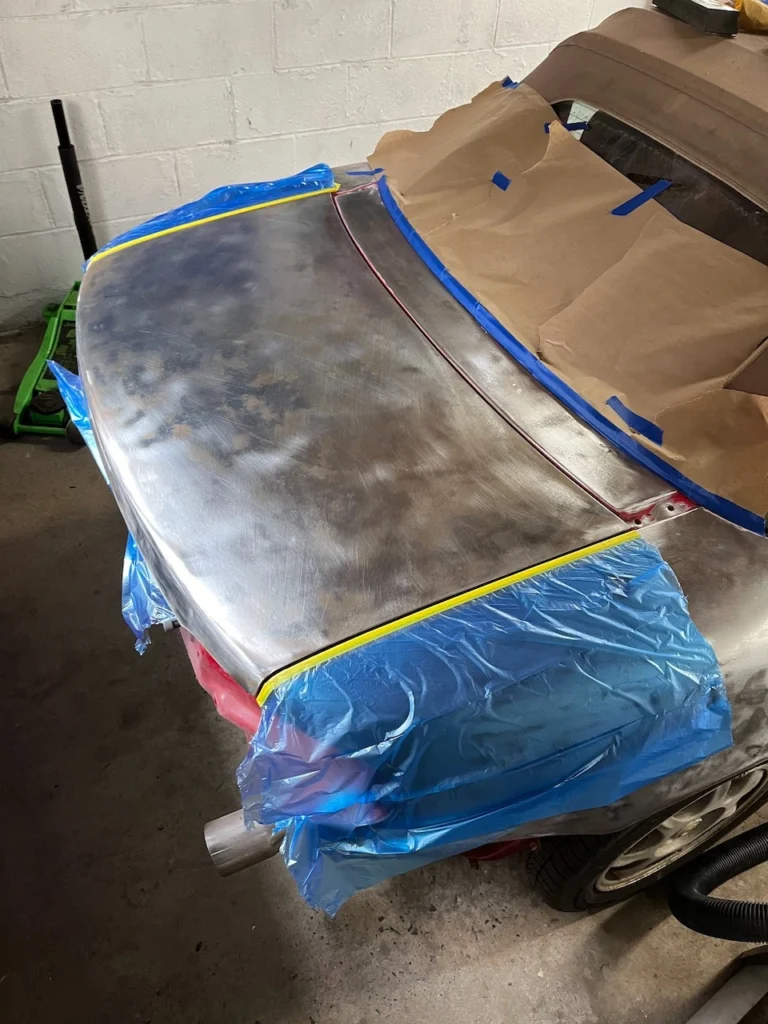
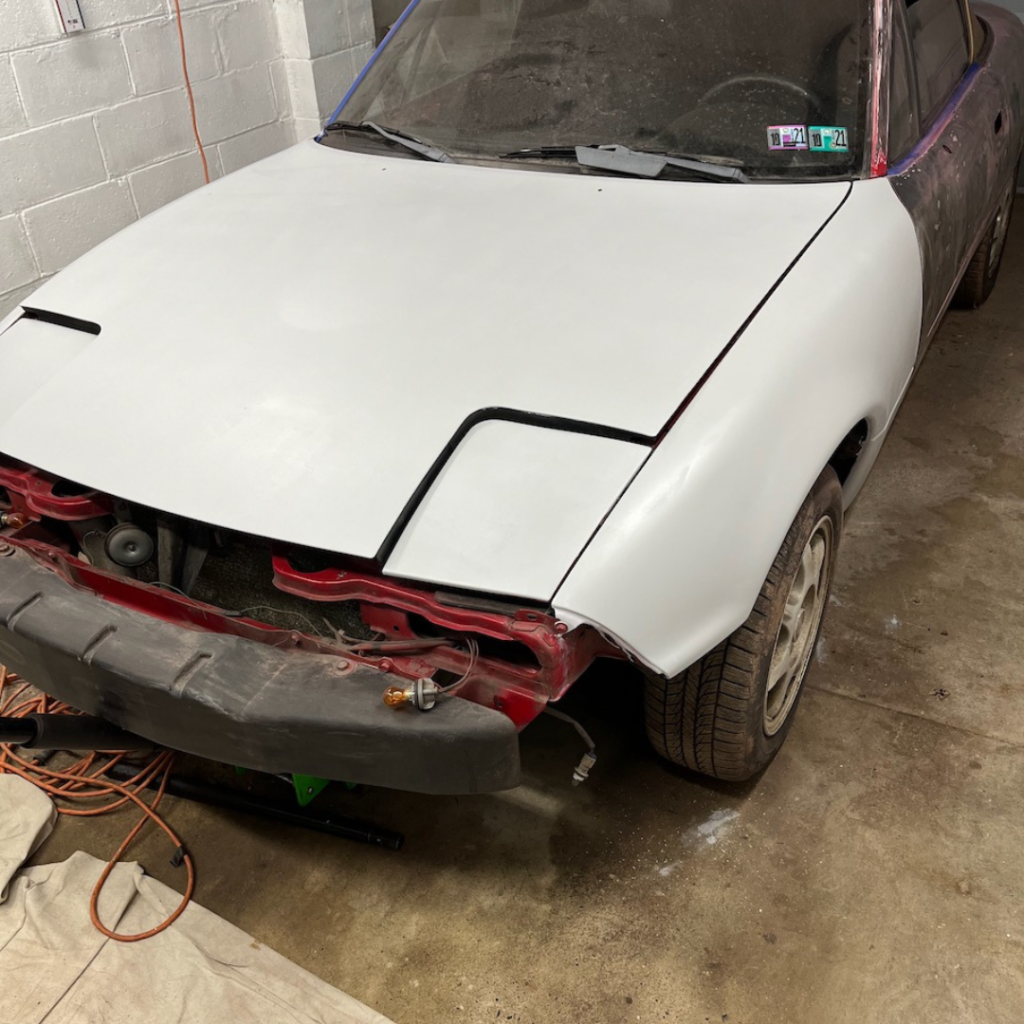
But the most satisfying update by far has been getting some primer on to the car. I am using Optiflow primer from Eastwood, which is a roll-on product. Yes, roll-on like with paint rollers you would use for painting a wall at home.
So far I’ve been very pleased with the results. Since it’s being applied with a roller, masking off a single panel to paint is quick and easy, and there are no concerns with overspray.
For a professional auto body technician capable of sanding and spraying a car in a day, this probably sounds grossly inefficient. However, as a DIYer, being able to split the car up into sections and paint 1 or 2 panels at a time is crucial to making consistent progress.
Results-wise, I think the finish looks great so far! If nothing else, it looks better than it did covered in rust. There are still a few more panels left to get primer on, but we’re really starting to get somewhere. The next step in the process will be body work and (you guessed it!) more sanding.
Stay tuned for future updates on our NA Miata build by subscribing to our email list here!
Leave a Reply